
How I sell on Teachers Pay Teachers – Episode 1. Add a preview PDF
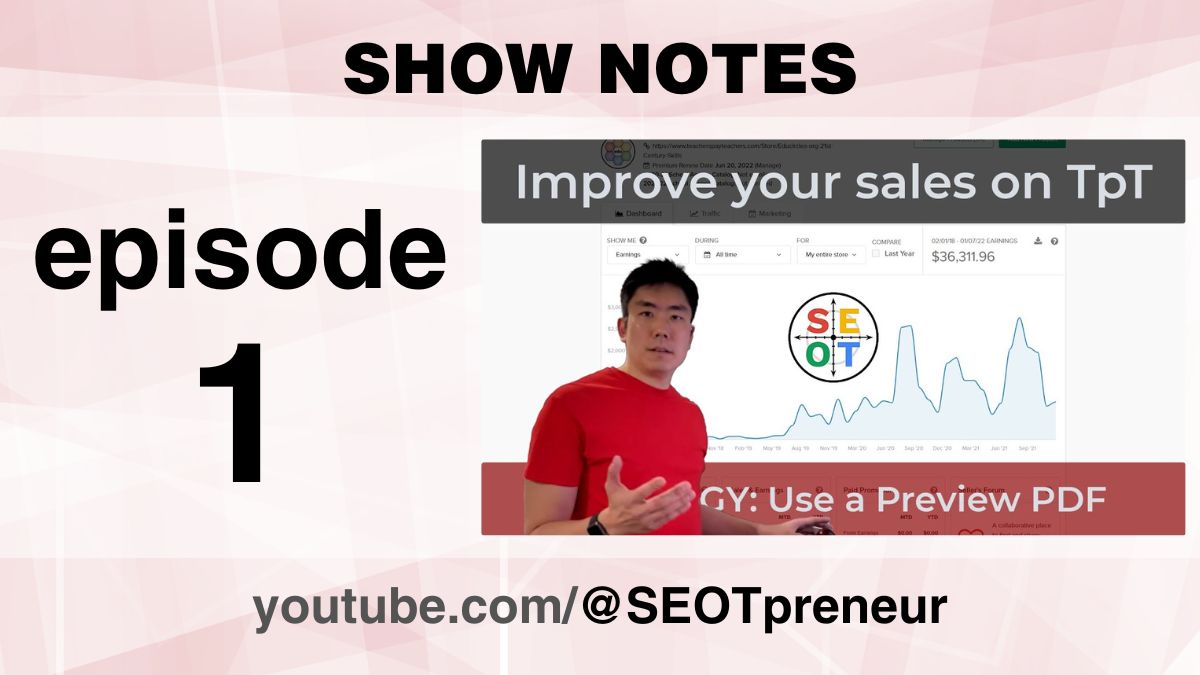
I sell on Teachers Pay Teachers. I’ve made $36,311 USD so far. I currently make around 3 to 4 digits a month. (i.e. $600 to $2800 per month depending on the season.)
This series is on How to Sell and make money on Teachers Pay Teachers – Beginners (who make 1 or 2 figures a month) and Experienced sellers (who make 3 figures or more a month) can ask questions in the comments and I’ll do my best to help you out!
Episode 1 is about adding a Preview PDF to make it easier for teachers to see what they get when they buy your resource on TpT.
FYI. I try to practice what I teach. I think about Strategies, Effort, Optimization, and Tinkering (SEOT) to help me earn a living from the internet.
Here’s a FREE lesson plan explaining the SEOT process to students:
Here’s my store on Teachers Pay Teachers (TpT):
Here’s my website.
Here’s the teaching resource I was working on in this video:
Watch the Video
Click here to watch on YouTube.
Questions? Comments? Need Help?
- Any questions? Do you agree or disagree? Challenge my assumptions!
- Need help? Maybe I can provide suggestions!
Say something in the YouTube video comments
VIDEO TABLE of CONTENTS
- 0:00 Introduction
- 0:20 Beginners: Make sure you add a preview to your product description
- 1:49 Experienced Sellers: Consider protecting your preview PDF so it’s harder to print (and steal)
Transcript
1. Introduction
1.1 About Mike and SEO Teacher
(00:00):
Hi teachers, it’s Mike from SEO Teacher. I run a store called Educircles on Teachers Pay Teachers, and I wanted to share some tips on how to sell more on TPT.
1.2 Purpose of the video
So if you like this kind of stuff, check it out. Like follow, subscribe, you know how it is. And here we go.
2. Importance of Product Previews on TPT
2.1 Evolution from Partial to Full Previews
(00:23):
Okay, I have a product here. And if you’re new to selling on TPT, one of the most important things you want to do is make sure you have a preview because the more you show teachers what they’re getting, the more likely that they will buy because they know that it’s the right product for them.
2.2 Role of Feedback in Changing Approach
So in this product here, I don’t have a preview yet, and what I’ve recently discovered is I used to only do partial previews, sort of screenshots of the thing. And then I got some feedback where just people were unhappy, it wasn’t what they thought that they were getting.
3. Creating a Watermarked Preview using Adobe Acrobat
3.1 Steps to Add Watermark
And so now what I’ve started to do is I’ve started to do a full preview and then simply put a watermark on it. So I use Adobe Acrobat, I pay for the full version because my time is money. And one of the things that I’m going to do here, I’m just going to go to tools, I’m going to go to, I’m just going to type in here.
(01:12):
Watermark. There we go. I’m going to add a watermark here, and I’ve saved one from before, so I’m just going to say preview.
3.2 Saving the Watermarked Preview
So there’s a little preview thing I’m going to hit. Okay. All right. So I’m going to save this as something else here cause I’m going to save it as a preview version. Hi, I don’t want to see. Let’s move me over here. Okay, so let’s save it here. Hello. Are you not going to let me type in here? That’s awkward, weird. Okay, I’ll add preview here at the end here. Preview. Okay, so I have a preview document here, and this alone will be pretty good if you’ve been selling on TPT for a while.
4. Protecting the Document
4.1 Document Protection Features in Adobe
You may not know this, but some people may print your handout because it says preview, but they can live with that. And one of the things that you can do is there are lots of tools, but the one I’m going to use here is on Adobe. I can actually protect this document, right? So I’m going to protect this document. Oops, I don’t want to do it this way.
(02:12):
I’m going to protect it. Sorry. Protect using password. I think that’s it. Protect using password.
4.2 Choosing Appropriate Security Settings
I want to prevent people from editing. Nope, that’s not what I want to do here. Why am I hopping around here? Edit. Let’s go here. Protection security properties. Okay, so I’m going to choose password security required a password to edit. Okay, so no printing is allowed, no changes are allowed.
5. Creating a Secure Password for the Document
5.1 Using Random.org for Password Generation
And in fact, by default you can’t copy the text or images from the pdf, but I am going to allow text access for screen readers for the visually impaired. And then I’m just going to randomly type a password. This is a horrible password here. So let’s just, I’ll tell you what I really do here. What I honestly do is I go to random.org passwords and I just simply generate a randomly long password. So 24 passwords. Here we go.
(03:05):
Get password. There we go. There’s some nice obscure password.
5.2 Applying Password to the Document
I copied that. I’m going to go back to Adobe. Hey, here you are. I’m going to paste in this permissions password here. I’m going to encrypt everything I’m going to hit okay and thank you. Trying to keep it to three minutes. So here we go, it’s already over three, but Adobe products will respect the password, but there are ways around the password, so it’s not fool foolproof, but it does make it at first glance not possible to print.
6. Verifying the Security Measures
6.1 Ensuring No Printing is Allowed
And so that’s what I’m looking for here. Just to make it a little bit harder to steal the content here. Here’s a password, okay, it’s not going to happen till I save it. Printing is currently allowed, but I’m now going to save this preview password. And now once I’ve saved it at the top it says secured.
(03:56):
And if I go into the protection section here, I can see now that printing is not allowed.
6.2 Testing Text Selection and Editing Restrictions
And in fact I’m going to close this document here. There we go. Let’s close that here. Here’s the preview version with the password. And if I open it up, you can’t actually print it. The printing file button is gray out. You can’t print that here. And if I want to edit the document, so for example if I try to select text, it won’t work because that’s been disabled right now. And so if I want to edit the text, I would have to answer the password, which people won’t know.
7. Importance of Detailing Product Descriptions and Covers
7.1 Evolution of Seller Experience on TPT
So bottom line is if you are making a product on TPT when I first started, when everyone first starts, you just want to get the product out, you hit publish, you don’t really spend a lot of time on what you write for the description or the covers.
(04:45):
And then over time you realize that your stuff doesn’t sell and that kind of stuff really matters.
7.2 Uploading the Password Protected Preview File
So make sure you add a preview file. There it is. I’ll add the password protected one. I’ll hit open, it’s going to upload that password protected file. And now from that preview document, so once I hit save here, submit, it’ll give it a second here. But now when people hit that preview button, they can see exactly what they’re getting in this handout. And if they try to print this, if they save this preview PDF and then try to print it, they won’t be able to because it’s been password protected.
8. Conclusion
8.1 Recap and Importance of Preview Document
Anyways, if you like this kind of stuff, make sure to follow, subscribe and I’ll put a link in the description for more information. And it’s Mike from SEO teacher. If you have any questions, ask below and we’ll see you next time. Good luck. Bye-bye.